Mostly, motorcycle back pain isn’t a single dramatic event; it’s the slow, repeated stresses: constant vibration and impacts from rough terrain, hours spent in a fixed riding position, weak core and stabilizer muscles, poorly tuned suspension or an uncomfortable seat, and badly distributed luggage that pulls your spine out of alignment. Tight hips and hamstrings make things worse by tilting the pelvis and increasing lumbar pressure. Those forces add up mile after mile until your lower back starts to complain.
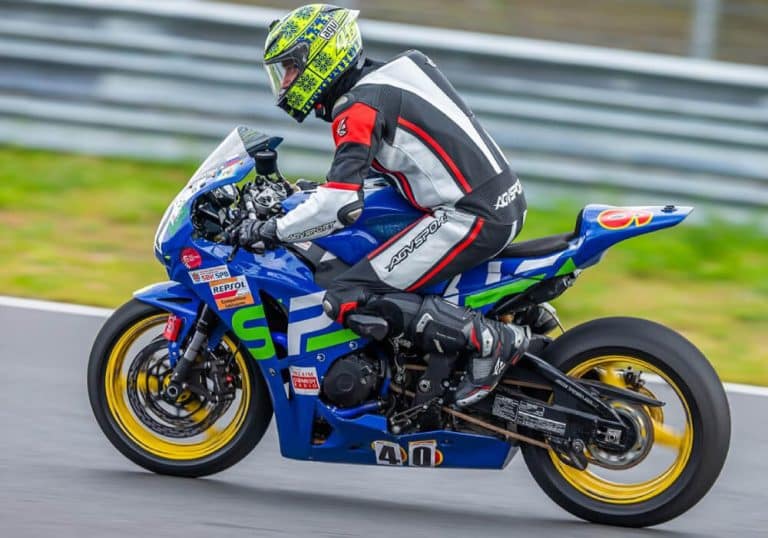
You see, I started riding motorcycles (not mopeds) when I was 14, back in 1972, with my first being an Italian Malaguti, then a Spanish Derbi, and later an MV Agusta, which celebrates its 80th anniversary in 2025. Over the years, I’ve owned more than 25 others and ridden everything from customs and cruisers to nakeds, street bikes, and adventure machines. These days I’m mainly an adventure and off-road rider, though I still take the occasional high-adrenaline session at the California Superbike School or Sandy Hook Speedway, because, hey, one can never truly outgrow the thrill of racing.
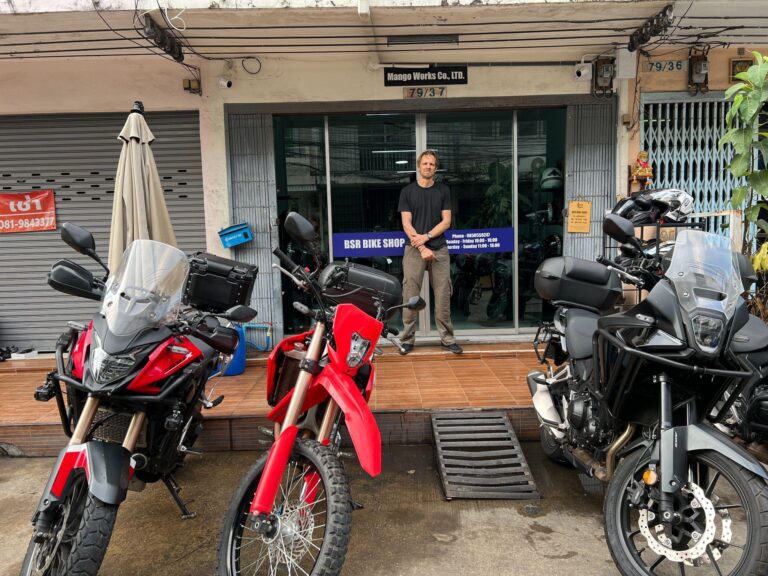
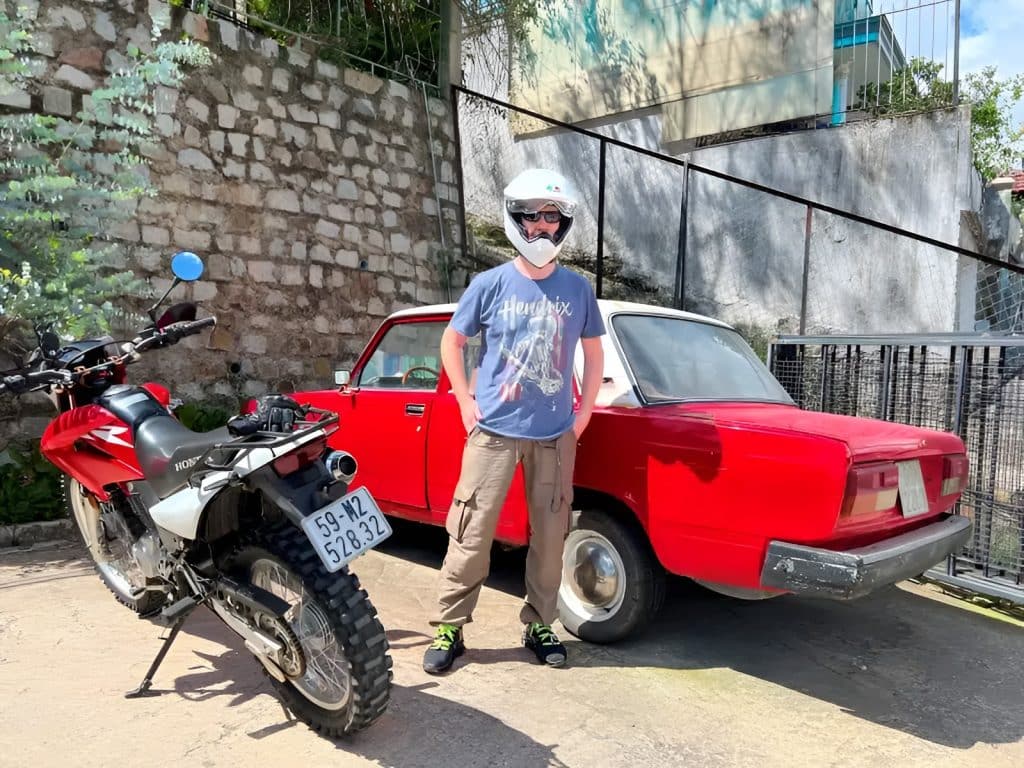
Along the way, I’ve ridden across very different terrain, including a Kawasaki KLX 250 through Vietnam, a Kawasaki Z250 SL in Thailand, and a Tekken 250 in Ukraine, plus plenty of off-trail sessions in Maryland and long rides around the United States. Each style of riding and each landscape changes my posture and the stresses on my body, and over the years, I’ve learned the hard way that it isn’t crashes that most often end a good day, it’s the slow buildup of aches and strains.
Below are a few products I personally use or recommend for managing back strain on long-distance and off-road rides.
| Product | Why I Recommend It | Where to Buy |
|---|---|---|
| Lightweight Kidney / Lumbar Belt | Provides compression, warmth, and extra lumbar support on very rough stages. | RevZilla | Amazon |
| Gel Seat Pad (travel saddle insert) | Reduces pressure points and vibration; an easy comfort upgrade for older seats. | RevZilla | Amazon |
| Suspension Setup | Suspension tuning for your fully loaded weight; the biggest single comfort upgrade I’ve experienced. | RevZilla | Amazon |
| Hard Panniers (pair) | Keeps heavy gear low and centralized and protects luggage from weather and impact. | RevZilla | Amazon |
| Low-Profile Tank Bag | Keeps essential items handy and reduces the temptation to carry a heavy backpack. | RevZilla | CycleGear |
Now let’s look at the most common causes I’ve seen and the precise steps I take to prevent each one.
5 Common Causes of Motorcycle Back Pain
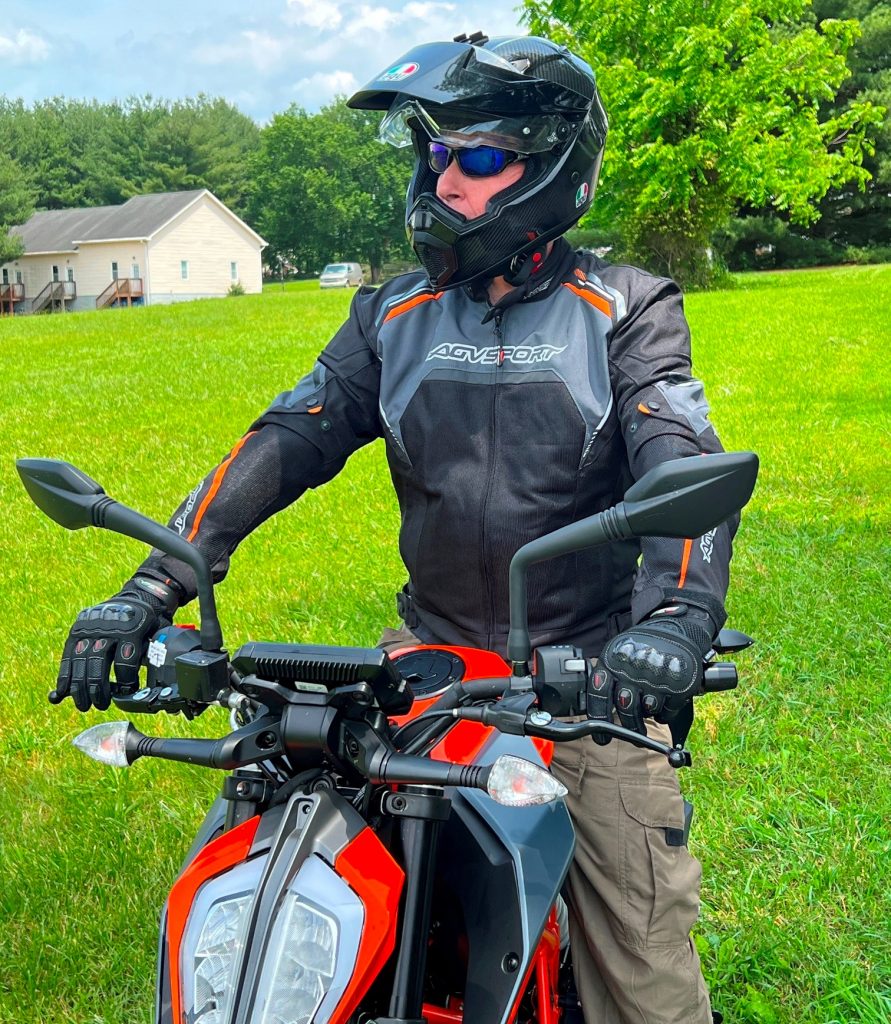
I want to be clear that the pains I’m talking about aren’t from accidents. They’re the nagging, cumulative aches that come from hours in the saddle, repeated shocks, improper setup, or bad packing. For me, chronic lower-back pain is the one that sneaks up on a trip and has the power to finish the day early if I ignore the warning signs.
From my experience, the main reasons riders develop non-accident back pain are:
1. The Lower Back Takes Every Hit from Rough Terrain
On uneven roads or hitting potholes, every impact drives a jolt up through the bike into your pelvis and lower back. When you’re seated the wrong way or your suspension isn’t tuned, your spine absorbs most of that energy.
After hours of riding in a fixed upright position, I can literally feel my lower back flattening and taking more load: it’s like the lumbar curve that normally supports me gets smoothed out and the discs take the pressure. If I don’t address it early, the pain builds day after day.
2. A Weak Core or Back Musculature Fails to Absorb Shocks
The core (abdominal and lower-back muscles) normally acts as a shock absorber. Without strength there, more force transfers straight to the spine. A strong core keeps your spine supported and helps you handle bumps in the road.
In practice, riders with untrained cores often report aching backs much sooner on a ride than fit riders. Once I built core strength, rides became noticeably less punishing as my muscles began doing the work the spine used to take.
3. Heavy or Poorly Packed Luggage Pulls Your Spine Out of Alignment
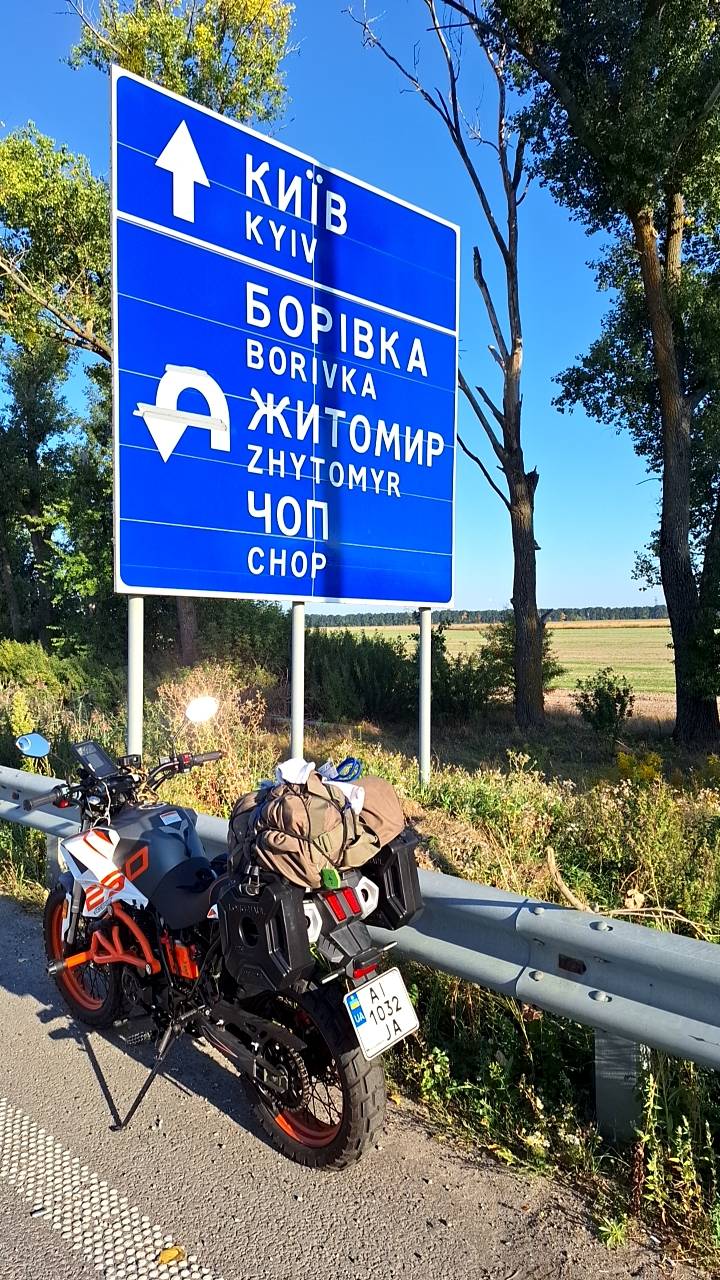
Carrying gear high or unevenly distributed upsets your balance and posture. A loaded adventure bike with panniers or backpacks can literally pull your spine out of alignment. The added weight also tilts the hips and forces the rider to grip harder with their back.
Normally, I use tank bags or side cases instead of a backpack because a heavy backpack can add stress to your upper back. When riding, keeping loads low and centered helps maintain an upright spine and prevent undue strain.
I learned this the hard way carrying a top-heavy bag through Vietnam’s narrow roads. Weight that’s too high or off center forces compensatory posture, leaning to one side, gripping harder with your lower back, and that accumulates into pain.
4. Poor Suspension or Seat Setup Transfers Vibration Straight to Your Back
Early on I rode with stock suspension that didn’t match my weight or luggage. For instance, on long rutted stages in Ukraine, I ended up feeling like the bike was punching my lower back with every kilometer.
If the suspension is too stiff or too soft, more jolts reach your body. A poorly tuned shock or fork sends every bump directly into your spine. Likewise, a seat that’s too hard or misaligned can force you into an awkward posture. Properly adjusting preload and damping to your weight ensures the suspension absorbs terrain shocks, not your back.
Riding ergonomics, including seat height, and handlebar position, should also keep your spine in a neutral position to avoid twisting or arching the lower back.
5. Tight Hips and Hamstrings Strain Posture
Spending hours with bent legs and flexed hips on a motorcycle naturally shortens hamstrings. Stiff hip flexors also pull the pelvis forward, increasing lumbar arch and pressure. Without mobility, the lower back takes up the slack. In fact, static riding posture leads to muscle imbalance.
After a few long days I’d notice my lower back twinge when I tried to stand up. Stretching the hips and hamstrings is important because these muscles directly affect spinal alignment. I often find that hip-flexor stretches and hamstring stretches (shown below) help relieve post-ride aches.
How Non-Accident Back Injury Feels So You Can Identify It Early
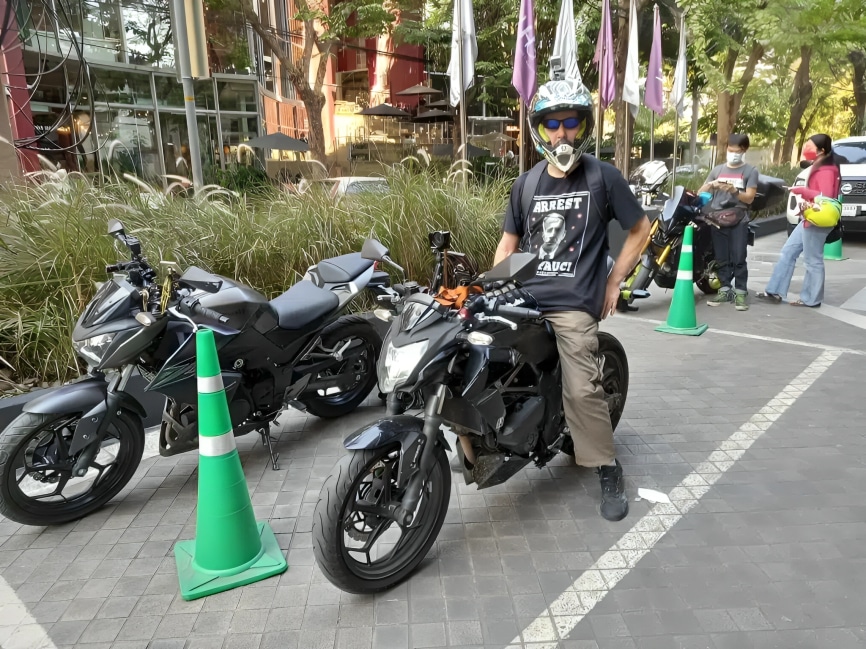
Knowing the early signs stopped me from compounding small aches into a ride-ending problem. The common early symptoms I’ve experienced:
- A dull ache across the lower back after 1–3 hours that gets worse the longer I ride.
- Tightness in the hips and a feeling that my pelvis is “locked.”
- Pain that improves slightly when I stand on the pegs but returns when I sit.
- Stiff hamstrings and a reduction in range when bending forward.
- Fatigue that’s concentrated in the lumbar region (not the legs).
If you notice the pattern, pain building slowly, worse while on the bike and easing a bit with movement , that’s a classic non-accident overuse pattern. Addressing it early with simple steps prevents it from becoming a chronic issue.
Best Back Pain Prevention Strategies: What I Do and What You Can Copy
Below are the exact, repeatable steps I use. These are practical and specific, not vague “get fit” advice.
1. Core and Lower-Back Strengthening Routines That Actually Help Riders
My core routine is short but consistent. I aim for 20 to 30 minutes, three to five times a week. The schedule fits easily around travel or riding days but makes a big difference in endurance and comfort.
Weekly starter routine (30 minutes):
- Warm-Up (5 Minutes): Begin with jumping jacks or a brisk walk to increase blood flow and loosen up your muscles.
- Plank (3 Sets of 40 to 60 Seconds): Builds core endurance and supports the spine. Rest for 30 to 45 seconds between sets.
- Side Plank (3 Sets of 30 to 45 Seconds on Each Side): Strengthens the oblique muscles and improves balance for better off-road control.
- Bird-Dog (3 Sets of 10 Repetitions on Each Side): Improves coordination and strengthens the small stabilizing muscles along the spine. Perform the movement slowly and with control.
- Glute Bridge (3 Sets of 15 Repetitions): Activates the glute muscles and reduces strain on the lower back. Hold the top position for two seconds during each repetition.
- Back Extensions or Supermans (3 Sets of 12 Repetitions): Targets the lower-back muscles directly and helps maintain proper riding posture.
- Foam Rolling (5 Minutes): Finish the routine by rolling your lower back, glutes, and hips to release muscle tension and improve recovery.
Why this combo? Planks build overall core tension, while bird-dog and bridges train the posterior chain (glutes, hamstrings, lower back) to work together. Back extensions directly target lumbar muscles, improving endurance and posture. After about four to six weeks of sticking to this plan, I notice my lower-back fatigue on long rides drops by more than half.
For progression, you can add light resistance to glute bridges (try single-leg variations or a dumbbell across your hips), extend plank time, or add a bit of instability using an exercise ball once the routine feels easy.
2. Stretch Before and After Every Ride
I always take a few minutes to loosen up before I start riding and a bit longer to stretch afterward. That small investment of time makes a huge difference in how my back, hips, and legs feel during long rides.
Pre-Ride Routine (5 to 7 Minutes):
- Hip Circles (10 Each Direction): Rotate each hip ten times in both directions to loosen the joints and improve range of motion before you hit the road.
- Dynamic Lunges with Rotation (8 Each Side): Perform eight lunges on each side, twisting your upper body toward your front leg. It warms up the hip flexors, engages the core, and activates the glutes for stability.
- Leg Swings (Front to Back, 10 Each Leg): Swing each leg ten times to loosen the hamstrings and prepare your lower body for movement.
- Cat-Cow on Hands and Knees (10 repetitions): Move through ten slow repetitions to mobilize your spine and reduce stiffness through gentle flexion and extension.
Post-Ride Routine (8 to 12 Minutes, Hold Each for 30 to 60 Seconds):
- Hamstring Stretch (Standing or Seated): Lengthens tight hamstrings and eases pressure on your lower back after hours of riding.
- Kneeling Hip-Flexor Stretch: Opens up the hips and counteracts the shortening caused by long periods of sitting.
- Piriformis or Glute Stretch (Figure-4): Relieves tension in the glutes and hips, reducing strain on the lower spine.
- Child’s Pose: Gently elongates the lower back and helps the body relax after a long day in the saddle.
- Gentle Lumbar Rotations (Lying on Your Back): Restores spinal mobility and releases any stiffness that builds up during the ride.
I swear by this combination of pre-ride mobility to warm up and post-ride stretching to release tension. On multi-day tours, it’s non-negotiable because skipping it even once makes me feel the difference the next day.
3. Ride with an Active Posture
Technique makes a huge difference. Over the years, I’ve learned that how you sit, stand, and move on the bike directly affects how much strain your body takes. Here’s what I focus on while riding:
- Ride with Bent Knees: Even when seated, keep your knees slightly bent, so they act as small shock absorbers. When the trail gets rough, stand on the footpegs and let your legs take the impact instead of your spine.
- Stand on the Pegs for Rough Sections: Standing allows your legs to handle the jolts and lets the bike move more freely beneath you. It also gives you better control and reduces the load on your lower back.
- Keep Shoulders Relaxed, Elbows Up: Relaxed shoulders prevent tension from building in the neck and upper back. Keeping your elbows slightly up and out improves leverage on the handlebars and prevents hunching.
- Maintain a Neutral Spine: Avoid excessive arching or rounding of your back. Imagine a string pulling gently upward from the crown of your head to keep your posture balanced and your spine aligned.
- Take Micro-Breaks: On long rides, stop every 60 to 90 minutes to walk, stretch, and loosen up for a few minutes. Don’t wait until you start feeling pain. These short breaks help prevent fatigue from setting in.
These small technique adjustments completely changed how my body handles the ride. Standing on the pegs has become my default whenever I hit rutted dirt or rocky sections, and my back thanks me for it every time.
4. Tune the Bike Setup
Your body can only do so much if the bike itself is working against you. A well-tuned setup absorbs the roughness of the ride instead of sending it straight into your back.
Suspension:
- Set Suspension for Your Weight and Gear: Always adjust your suspension based on your total riding weight, including fuel, panniers, and luggage. If you’re not sure how, tell your mechanic your fully loaded weight, so they can fine-tune it properly.
- Adjust Spring Preload Correctly: Make sure the bike sits at the recommended sag, usually about 25 to 30 percent for dual-sport or adventure motorcycles. It keeps your suspension balanced and responsive.
- Tune Rebound and Compression Damping: Adjust these so the bike “settles” smoothly after bumps rather than bouncing or jolting back. Proper damping keeps the ride controlled and saves your spine from harsh shocks.
Seat:
- Choose a Comfortable Seat: A seat that’s too hard channels all vibration into your sit bones and lower back. A gel pad or aftermarket seat that distributes weight evenly can make a long ride far more comfortable.
- Set the Correct Seat Height: Your seat should be high enough for proper leverage and low enough that your knees don’t lock. The goal is to maintain natural knee flex and balance when seated or standing.
Handlebars and Footpegs:
- Position the Handlebars for Upright Riding: Adjust your handlebars so that you can ride upright without hunching forward. Slightly higher or narrower bars can ease shoulder tension and improve posture.
- Optimize Footpeg Placement: Footpeg position directly affects comfort when standing. I experimented with slightly wider pegs and found that it greatly improved stability and reduced leg fatigue on rough terrain
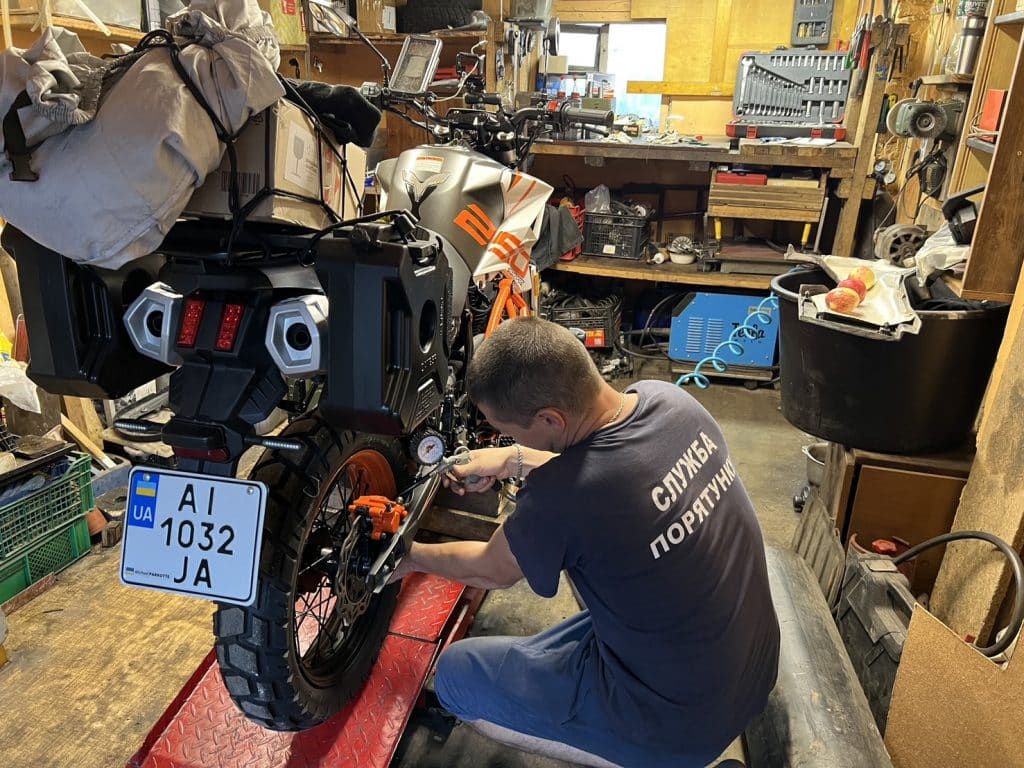
The proper setup session on my Tekken 250 in Ukraine transformed my highway stage from “back-destroying” to “firm but manageable.” The difference was immediate and lasting, and it reminded me that no amount of strength or stretching can fix a poorly tuned bike.
5. Pack Smart, Distribute Low and Central
I stopped using a heavy backpack after my first trip to Vietnam about 10 years ago, and I’ve never looked back. The way you pack your gear can make or break your back on long rides. Proper weight distribution keeps the bike balanced and prevents your spine from taking unnecessary strain.
Here are the rules I always follow:
- Keep Heavy Items Low and Centered: Always place the heaviest items as low and as close to the bike’s center as possible, ideally in panniers or a low tank bag. A low center of gravity keeps the bike stable and reduces twisting forces on your spine.
- Avoid Top-Heavy Tail Bags: Overloaded or high-mounted tail bags shift the bike’s balance backward and make handling harder. If you use a top case, keep it light and compact.
- Use Straps and Compression: Tighten and compress soft luggage so the weight doesn’t shift mid-ride. A shifting load constantly tugs on your balance and forces your back muscles to compensate.
- Minimize Weight on Your Shoulders: Avoid carrying heavy backpacks while riding. Backpack weight presses directly on your lumbar spine and shoulders, increasing fatigue and back pain. Using saddlebags or panniers instead of a backpack can make a huge difference in comfort.
- Keep Only Essentials on You: I carry a small daypack for items I need off the bike, like documents or a camera, but all long-haul gear stays secured on the bike itself, not on me.
After I started packing this way, my lower-back strain on multi-day rides dropped noticeably. The bike feels more planted, my posture stays natural, and I can ride longer without that slow, creeping discomfort.
6. Consider Kidney Belts and Lumbar Supports
On long, rough days, I always wear support gear, especially a kidney belt. It’s not a miracle fix, but it makes a noticeable difference in how my back feels after hours of vibration and uneven terrain.
Here’s why I use one:
- Provides Lumbar Support and Warmth: A good kidney belt adds compression to the lower back, helping stabilize the lumbar area while keeping it warm. The warmth improves circulation and reduces stiffness on cold or windy rides.
- Reduces Micro-Movements That Cause Fatigue: The belt limits tiny, repetitive muscle movements that build up over time and cause fatigue. It helps your lower-back muscles stay relaxed for longer periods.
- Improves Posture Awareness: The gentle pressure of the belt reminds you to keep your core engaged and your posture upright. It’s like a tactile cue that keeps your form in check when the trail gets demanding.
- Fit Matters: Choose a belt that feels snug but not restrictive. It should support your lower back without limiting your breathing or mobility. I personally wear mine only on long, rough stages or when I know I’ll be carrying extra gear for the day.
Using a kidney belt doesn’t replace core strength or proper posture, but it does complement them. For me, it’s become one of those small but essential comfort upgrades for endurance riding.
7. Recovery and Long-Term Habits
Recovery doesn’t get talked about enough in the riding world, but it’s just as important as your technique or setup. Over the years, I’ve learned that what I do off the bike directly affects how well my body holds up on it.
- Prioritize Sleep and Hydration: Quality rest and consistent hydration make a huge difference in muscle recovery. I’ve noticed that when I’m dehydrated, my muscles tighten faster and take longer to recover after a long ride. Keeping water within easy reach and drinking regularly throughout the day prevents cramping and fatigue.
- Include Active Recovery Days: On multi-day tours, I always plan at least one lighter day. That might mean shorter hours on the bike, more time riding while standing on the pegs, or simply walking and stretching more. Active recovery keeps blood flowing and helps sore muscles loosen up.
- Maintain Regular Strength Training: I treat my core work like tire checks. Small, regular maintenance prevents big problems later. Consistent strength sessions keep my back resilient and reduce the chance of small aches turning into chronic issues.
- See a Physiotherapist if Pain Persists: If pain becomes sharp, radiates down the leg, or doesn’t ease after rest, it’s time to get checked professionally. A physiotherapist can assess posture, mobility, and any deeper spinal issues that might be developing.
Building these habits into my lifestyle has made long-distance riding far more sustainable. It’s not about pushing harder, it’s about recovering smarter.
A Practical 4-Week Plan to Reduce Rider Back Pain (Copyable)
The goal is to strengthen the muscles that support your spine, improve flexibility, and make your body more adaptable to hours in the saddle. Follow this plan consistently for four weeks.
Weeks 1–2: Build the Habit
- Core Routine (3 Days per Week): Focus on foundational moves, including planks, bird-dogs, glute bridges, and back extensions. These exercises activate your core and teach your body to stabilize through movement.
- Pre-Ride Mobility (Daily, 5 Minutes): Loosen up with light movements before every ride to improve blood flow and reduce stiffness.
- Post-Ride Stretching (8 Minutes): Dedicate time after each ride to stretch your hips, hamstrings, and lower back. Consistency here prevents stiffness from building up.
Weeks 3–4: Increase Intensity and Control
- Add Unilateral Movements: Incorporate single-leg glute bridges to build balance and even out strength differences between sides.
- Increase Plank Duration: Gradually extend your hold time by 10–15 seconds to keep challenging your core.
- Add a Strength Day (If Possible): Include one session per week of compound lifts like deadlifts or kettlebell swings but only under supervision or with proper form. These movements develop real-world strength for handling off-road impacts.
- Refine Your Riding Setup: Practice carrying lighter luggage configurations and standing on the pegs for two to three rough sections per ride. It improves your technique and reduces back strain over time.
After four weeks, you should feel noticeably stronger, more stable, and far less susceptible to that dull lower-back fatigue during long rides. For me, this routine is the foundation for pain-free adventure riding. Small, consistent effort that pays off mile after mile.
Quick Checklist for Any Multi-Day Trip
Before You Leave:
- Suspension set for loaded weight.
- Seat and handlebar check. Try a short ride and adjust.
- Pack heavy items low and central.
- Kidney belt and foam pad packed.
- Core routine and mobility plan scheduled.
During Ride:
- Stop every 60–90 min to walk/stretch.
- Stand on pegs through rough patches.
- Keep shoulders relaxed and elbows slightly up.
- Hydrate regularly.
After Ride:
- 8–12 minutes of thorough stretching.
- Foam roll hips and glutes.
- Ice or heat the lumbar area if inflamed (ice first 48 hours for acute swelling).
Non-Accident Motorcycle Back Pain: Causes and Proven Prevention Tips
| Cause | Why It Hurts | What I Do To Prevent It |
|---|---|---|
| Repeated impact from rough terrain | Shock travels into lumbar spine | Proper suspension setup; stand on pegs; bent knees |
| Weak core | Muscles fail to absorb load | 3×/week core routine (planks, bridges, bird-dog) |
| Heavy/top-heavy luggage | Pulls spine out of alignment | Pack low/central; use panniers; avoid heavy backpacks |
| Poor seat/saddle setup | Forces bad posture and concentrates pressure | Gel pad or aftermarket seat; test and adjust seat height |
| Tight hips/hamstrings | Pelvis tilt increases lumbar pressure | Pre/post ride mobility; hamstring and hip stretches |
| Poor riding posture | Locks spine in suboptimal position | Elbows up, shoulders relaxed, neutral spine |
| Long static stretches of riding | Muscle fatigue & reduced blood flow | Micro-breaks, walk/stretch every 60–90 min |
Information for this article was partially sourced and researched from the following authoritative government agencies, educational institutions, and nonprofit organizations:
- World Health Organization (WHO)
- National Highway Traffic Safety Administration (NHTSA)
- Motorcycle Safety Foundation (MSF)
- University of Waterloo
- ScienceDirect
M/A

